You know that sinking feeling. You look at your phone screen after taking what you thought was the perfect shot, and it's a mess. Everything is soft. The faces are mushy. The details are gone.
It is frustrating because you only get one chance at some moments. You cannot ask a child to repeat their first steps. You cannot ask a sunset to hang around for another ten minutes. The good news is that you are not stuck with that blurry image.
There are ways to fix it. Some are simple and built into your phone. Others use clever software that can work magic. Here is a practical guide on how to fix a blurry photo iPhone, based on what I have learned from years of trial and error.
Know, How to Fix a Blurry Photo iPhone?
Before You Do Anything, Check the Lens
This sounds too simple to mention, but it is the most common cause of blurry photos. The camera lens is on the back of your phone. It sticks out slightly. That means it picks up dirt and grease from your fingers, pockets, and bags.
Read Also: iPhone Portrait Mode: How to Take Stunning Photos Like a Pro?
A single fingerprint can scatter light and make everything look hazy. A smudge can create a soft glow effect that ruins sharpness. Take a look at the lens right now. Is it clean? If not, grab a soft microfiber cloth.
I keep one in my bag just for this. A quick wipe can bring your camera back to life. Do not use your shirt. Do not use paper towels. They can scratch the glass. Use a proper cloth and you will see an immediate difference.
Check Your Phone Case
This one caught me out once. I bought a new case that looked great. It was protective and stylish. But the cutout for the camera was slightly off. The case rim sat a little too close to the lens. Every photo I took came out soft and unclear.
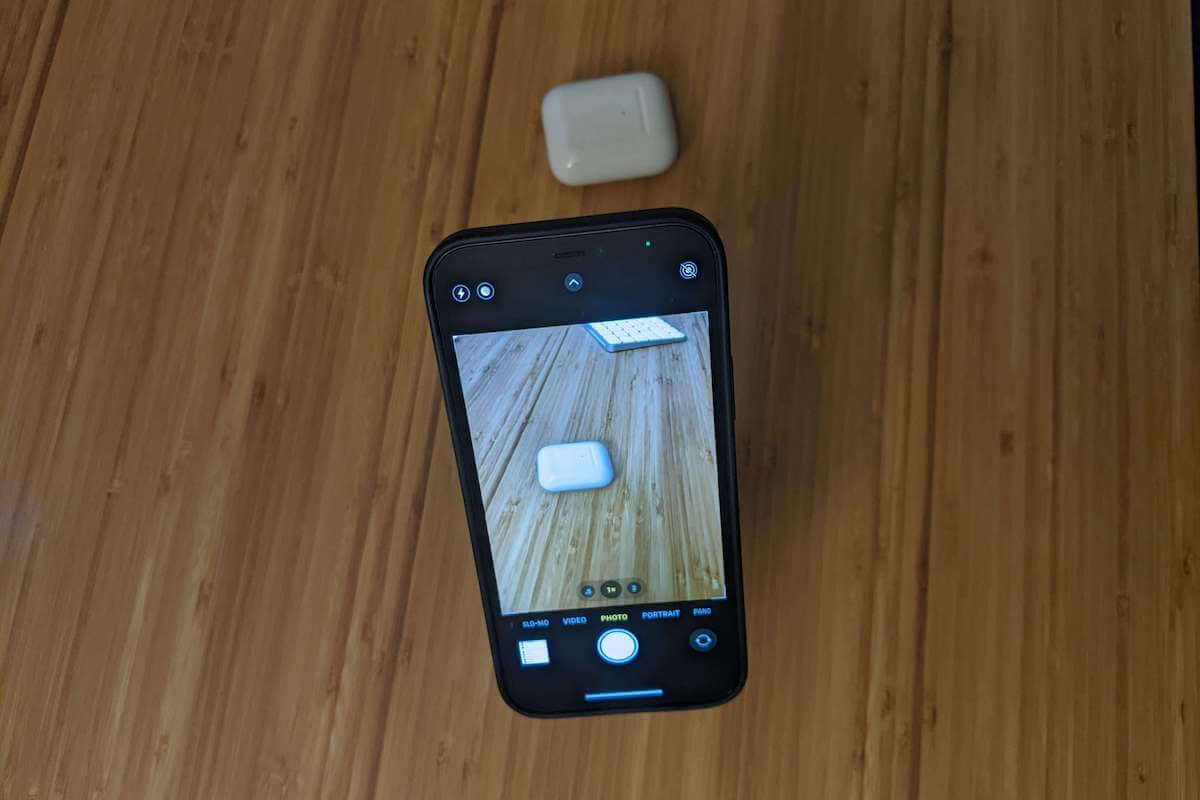
Some cases have raised edges to protect the lens. If that edge is too thick, it can block the autofocus sensor. It can also interfere with the flash. Magnetic cases and accessories are another problem. They can confuse the camera's internal sensors.
If your photos are suddenly blurry and you have a new case, take it off. Test the camera without the case. If the photos improve, you have found the problem. It is time to find a better case.
Check Your Settings
There is a setting on the iPhone called 'Prioritize Faster Shooting.' It is designed to help you capture action shots. The camera takes a quick burst of photos to make sure you do not miss the moment. But there is a trade-off.
You Must Also Like: How to Customize iPhone 17 Pro Camera Control for Faster Shooting?
To shoot faster, the camera cuts corners. It uses less processing power. It captures images at a slightly lower quality. This setting is turned on by default. I had no idea it existed until I started digging through the settings.
You should check it too. Go to Settings, scroll down to Camera, and look for the toggle switch. Turn it off. The next time you take a photo, you might notice it looks cleaner and sharper.
Focus and Exposure: Take Control
The iPhone camera is smart. It tries to find the subject and set the focus automatically. But it is not perfect. Sometimes it focuses on the wrong thing. It might set the exposure too bright or too dark. The result is a photo that looks off.
Tap the screen on the subject you want to be sharp. A yellow square will appear. This tells the camera exactly where to focus. If you want to lock the focus and exposure, press and hold on the screen until you see 'AE/AF LOCK' appear at the top. Now the camera will stay locked on that point, no matter how much you move the phone.
You can also adjust the exposure manually. Next to the yellow focus box, there is a small sun icon. Slide your finger up to make the image brighter. Slide down to make it darker. This gives you more control over how the final photo looks.
How to Edit a Blurry Photo in the Photos App?
Now we get to the editing. If you have already taken a blurry photo, do not panic. The iPhone has built-in tools that can help. Here is a step-by-step guide.
Open the photo in the Photos app. Tap 'Edit' in the top right corner. This opens the editing panel. At the bottom, you will see a row of tools.
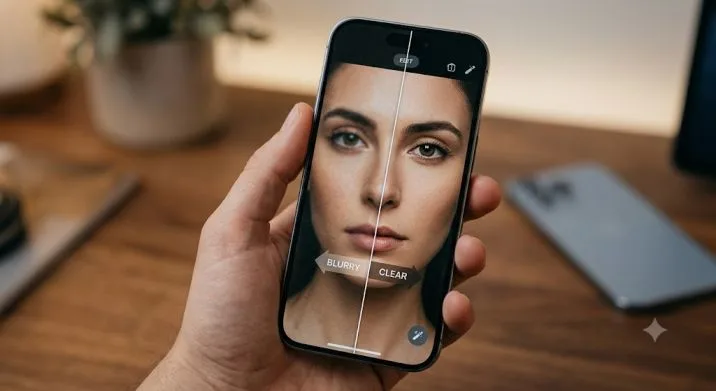
The first tool is 'Adjust.' Tap it and look for the 'Sharpness' slider. This is your most important tool. Moving the slider to the right adds sharpness to the image. It makes the edges pop. It brings out the details that were lost.
Next, look for 'Definition.' This slider adds clarity. It helps separate the subject from the background. It is useful for photos that look flat.
If your photo looks a bit dark, try 'Brilliance.' This is Apple's tool for brightening images without washing out the colors. 'Contrast' can also help by making the light and dark areas more distinct.
Play around with these sliders. Move them back and forth. See what works. It is a skill you develop over time. Do not expect miracles from these tools. They can help, but there is only so much they can do. An out-of-focus shot will never look perfect. But these adjustments can make it good enough.
Third-Party Apps for More Power
If the built-in tools are not enough, there are third-party apps that offer more powerful features.
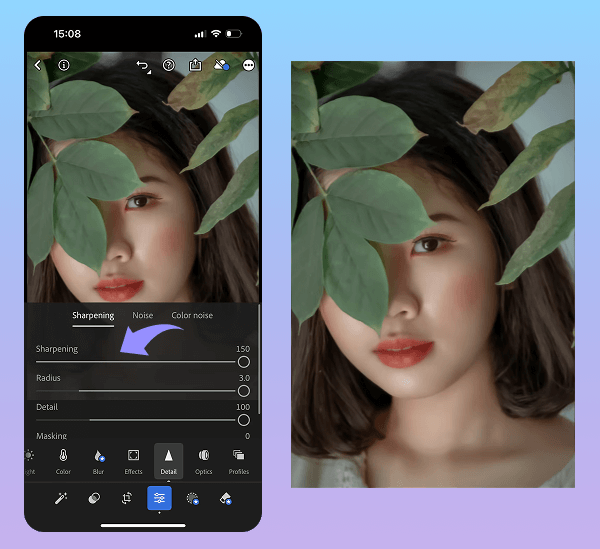
Adobe Lightroom is one of the best. It is free to download. It gives you professional-grade editing tools. After importing your photo, go to the 'Detail' panel. Find the 'Sharpening' slider. This is where you can add detail.
There is also a 'Noise Reduction' slider. If your photo is grainy or pixelated, use this first. It removes the grain, which makes the photo look smoother. Then use the Sharpening slider. Doing it in this order prevents you from sharpening the noise itself.
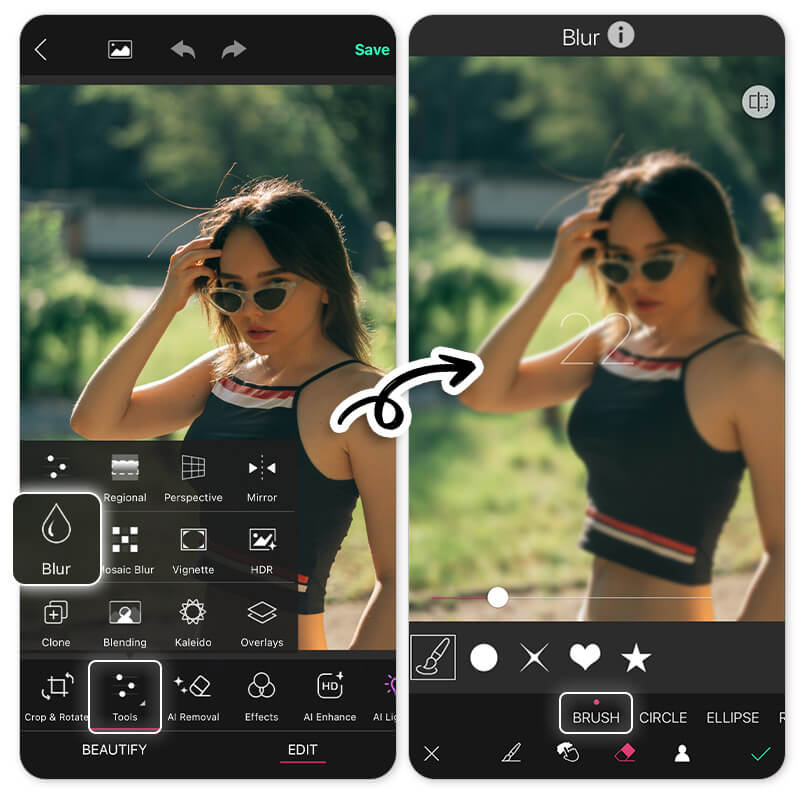
BeautyPlus is another app that works well. It has an 'AI Enhance' tool. You upload the photo and the AI does the work. It analyses the image and fixes the blur automatically. It is fast and works well for portraits.
Snapseed is a free app from Google that has a 'Sharpen' tool. It gives you two sliders: one for sharpening and one for structure. Structure adds texture to the image. It can make the photo look more detailed. It is worth a try.
AI Tools That Can Work Miracles
If the photo is badly blurred or has motion blur, you might need something more advanced. AI tools are getting very good at this.
Aiarty is one example. It uses artificial intelligence to analyse the image. The AI figures out what the missing details should look like. It generates new pixels to make the image sharper. It is a clever approach.
Topaz Gigapixel AI is another tool. It is used by professionals to upscale and sharpen images. It costs money, but the results are impressive.
Some online tools also do this for free. Upload your photo and wait a few seconds. The AI will work its magic. But be careful. You are sharing your photo with a third party. Make sure you trust the company before you upload anything personal or sensitive.
What If the Photo Is Still Not Sharp Enough?
There is a limit to how much you can fix. If the photo is completely out of focus, no app can save it. It will never look as good as a properly focused photo. That is just a fact.
At this point, you have two options. Accept it and move on. Or retake the photo if you can. But sometimes you cannot retake it. You only get one chance. In those cases, you do your best with the tools you have and make peace with the result.
Preventing Blurry Photos in the Future
The best way to deal with a blurry photo is to avoid taking one in the first place. Here are some tips that work for me.
Hold your phone steady. Use both hands. Tuck your elbows into your sides. This gives you a stable base. If you are in low light, the camera needs a longer exposure. A longer exposure means more chance of movement. A tripod is ideal, but not always practical.
Tap to focus. Always tap the screen on your subject. Do not let the camera guess.
Wait for the focus. The camera needs a moment to lock focus. You will see a yellow square appear and then turn solid. That means it is ready. Do not press the shutter button too quickly.
Check the lighting. The iPhone camera struggles in low light. If you can, move closer to a window. Turn on extra lights. Use the flash if you need to.
A Quick Summary
Let me give you a quick checklist for fixing a blurry iPhone photo:
-
Clean the lens with a microfiber cloth.
-
Remove the phone case and test the camera.
-
Check your camera settings. Turn off 'Prioritize Faster Shooting.'
-
Tap to focus and lock the exposure.
-
Use the built-in Photos app. Adjust Sharpness, Definition, Brilliance, and Contrast.
-
Try a third-party app. Adobe Lightroom, BeautyPlus, or Snapseed.
-
Consider an AI tool. Aiarty or Topaz Gigapixel AI.
Final Thoughts
To know how to fix a blurry photo iPhone? A blurry photo is annoying, but it is rarely a disaster. There are many ways to fix it. Start with the basics. Clean the lens. Check your settings.
Use the built-in tools. If that does not work, move on to third-party apps. If the photo is really bad, try an AI tool. You will be surprised at what is possible.
The camera on your iPhone is powerful. But it is not perfect. It needs a bit of help sometimes. Now you know how to give it that help. Go through your camera roll and try these tips. You might find that some of your old photos are worth saving after all.
This article provides comprehensive insights about How to Fix a Blurry Photo on iPhone: Easy Ways to Clear It. Bookmark this page for future reference!