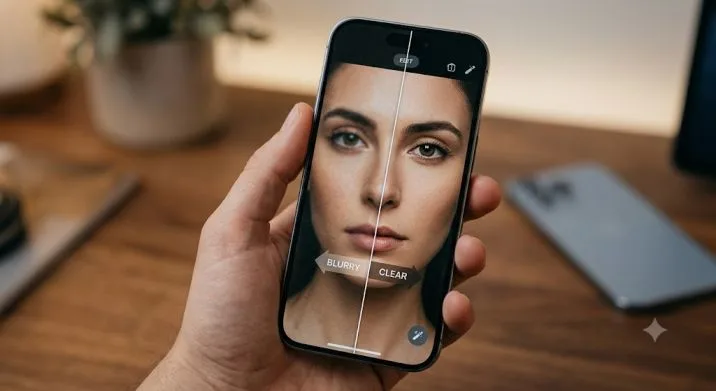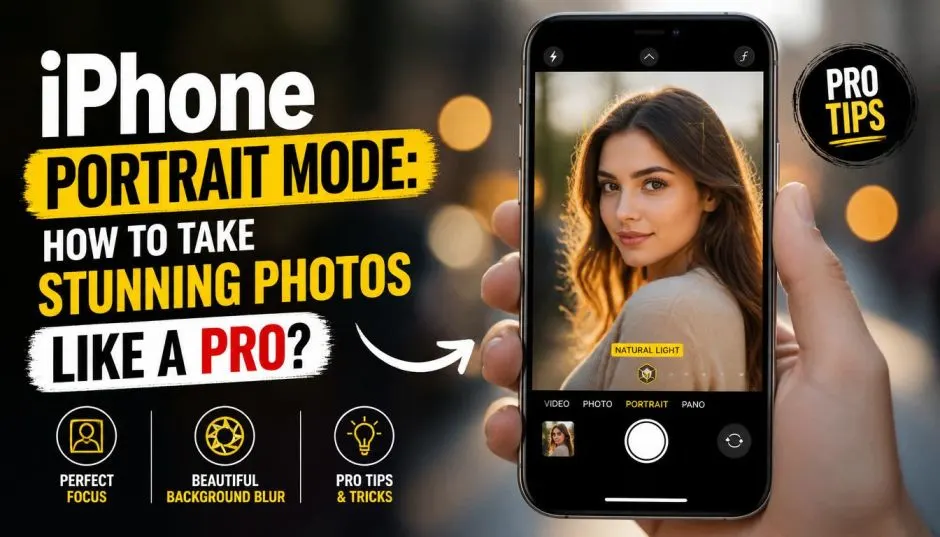
I was in my living room last Sunday. My niece was visiting. She was playing with my dog. The light was coming through the window. Perfect golden hour. I grabbed my iPhone and opened the camera.
Swiped to Portrait Mode. Pointed. Tapped the shutter.
The photo looked like a magazine cover. My niece's face was sharp. The background was creamy and blurred. My dog's ears were slightly out of focus, but in a good way. It looked professional.
I did not plan it. I did not think about it. I just pointed and shot. That is when I realized how good this feature has become. And how many people still do not know how to use it properly.
What Portrait Mode Actually Does?
Here is the simple version.
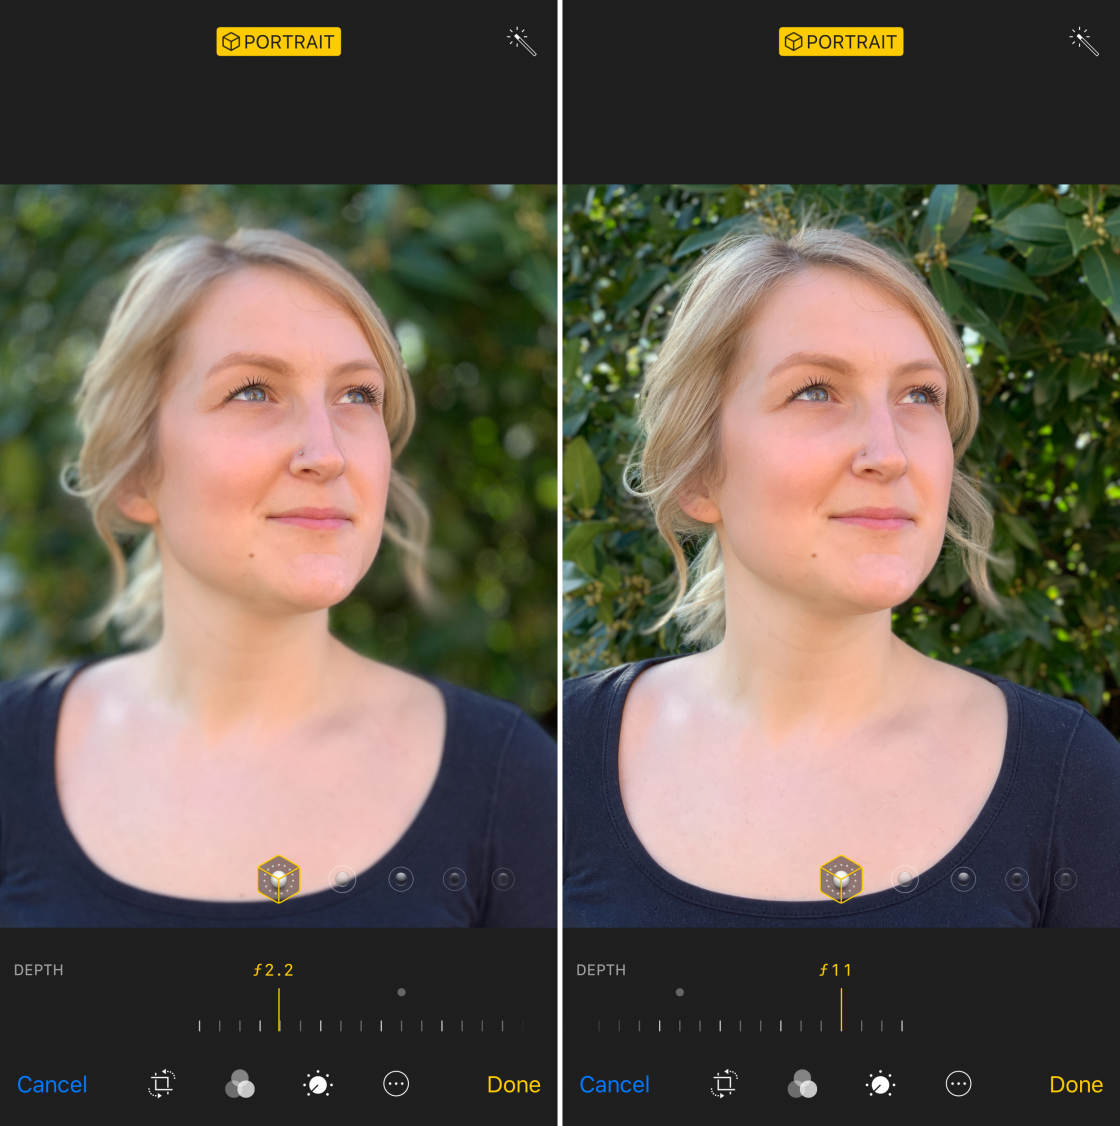
Portrait Mode uses the iPhone's cameras to create a depth map. It figures out where your subject is. Then it blurs everything behind them. The result looks like a photo taken with a big, expensive camera.
Read Also: How to Use Spatial Reframing on iPhone 15 Pro? What You Know?
The effect is called bokeh. It makes your subject pop. It makes the background disappear.
It is not magic. It is math and software working together.
The Hardware Behind It
Newer iPhones have multiple lenses. The wide lens and the telephoto lens work together. They capture two images from slightly different angles. The phone's processor calculates the distance to every part of the scene.
Then it applies the blur. Smoothly. Gradually. It looks natural.
Older iPhones use software algorithms to achieve a similar effect. The results are good. Not as good as the hardware version. But still impressive.
Which iPhones Have Portrait Mode?
Let me break this down simply.
The full list:
-
iPhone 7 Plus and 8 Plus
-
iPhone X, XR, XS, XS Max
-
iPhone 11, 11 Pro, 11 Pro Max
-
iPhone 12, 12 mini, 12 Pro, 12 Pro Max
-
iPhone 13, 13 mini, 13 Pro, 13 Pro Max
-
iPhone 14, 14 Plus, 14 Pro, 14 Pro Max
-
iPhone 15, 15 Plus, 15 Pro, 15 Pro Max
-
iPhone 16, 16 Plus, 16 Pro, 16 Pro Max
-
iPhone 17, 17 Air, 17 Pro, 17 Pro Max
Even the single-camera iPhone 17 Air supports it. Apple's software has gotten that good.
If you have an iPhone SE (2nd generation or later), you also have Portrait Mode. It uses the same algorithms as the newer models.
What About Older Models?
If you have an iPhone 7 or 8 (not the Plus version), you are out of luck. Those only have one camera. No depth information. No Portrait Mode.
You can try third-party apps that simulate the effect. They are not as good. But they are better than nothing.
How to Find Portrait Mode on Your iPhone?
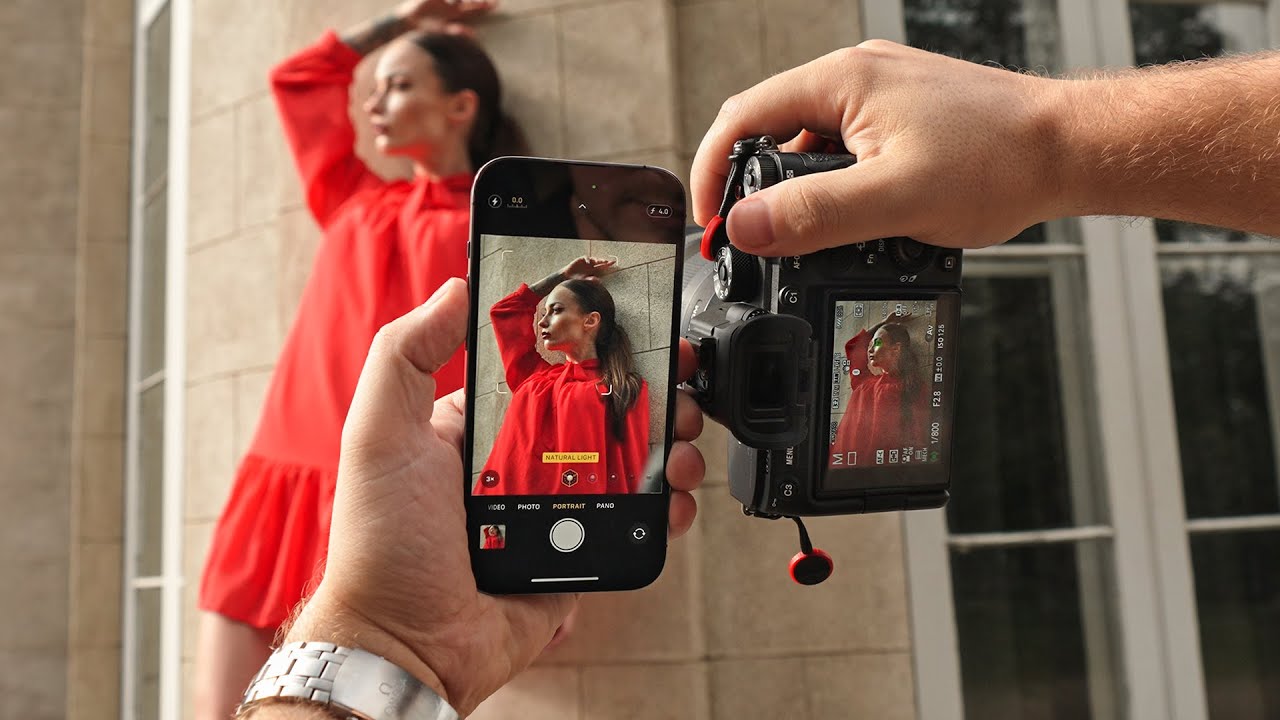
The location has changed over the years. Here is where to look.
On iOS 27 and Later
Open the Camera app. The modes are at the bottom of the screen. Swipe through until you see "Portrait." Tap it. You are ready.
On iOS 26
Open the Camera app. You will see "Photo" and "Video." Swipe left or right on the mode selector at the bottom. "Portrait" is hidden in there. Swipe until you find it.
On Older iOS Versions
Open the Camera app. Swipe through the modes at the bottom. "Portrait" is usually between "Video" and "Square."
Taking Your First Portrait Photo
It is simple.
Open the Camera app. Select Portrait mode. Point at your subject.
A yellow box will appear. It frames your subject. It tells you the camera has detected a person, pet, or object.
Tap the shutter button. Done.
For selfies, tap the front-facing camera button. Same process. Same results.
What If the Yellow Box Does Not Appear?
Move closer. Or move further away. The camera needs to see the subject clearly. If the box does not appear, the mode will not work.
Try different distances. Sometimes you are too close. Sometimes you are too far.
Tips I Learned the Hard Way
I have taken thousands of Portrait Mode photos. Here is what I figured out.
Light Is Everything
Good light makes the difference between a great photo and a bad one.
Natural light is best. Window light. Outdoor light. Golden hour light. It is soft. It is flattering. It shows skin tones accurately.
Avoid harsh overhead light. It creates shadows under the eyes. Not a good look.
Get the Distance Right
Portrait Mode has a sweet spot. Not too close. Not too far.
You Must Also Like: How to Customize iPhone 17 Pro Camera Control for Faster Shooting?
The yellow box on the screen is your guide. Frame your subject within that box. If you crop too tight, the effect might not activate. If you are too far, the blur might look fake.
The Background Matters
A cluttered background ruins the effect. Too many objects. Too much detail. The blur cannot hide everything.
Simple backgrounds work best. A plain wall. An open sky. A clean street. The blur looks more natural when the background is not distracting.
Try Different Lighting Effects
Portrait Mode has lighting effects. Swipe left or right on the lighting slider to try them.
-
Natural Light: Standard. Clean. Works for everything.
-
Studio Light: Brightens the face. Professional look.
-
Contour Light: Adds shadows. Dramatic. Artistic.
-
Stage Light: Isolates the subject on a black background. High drama.
I use Natural Light most of the time. Stage Light is fun for special shots. Contour Light is good for moody portraits.
Edit After You Shoot
The photo is not final when you take it.
Open the photo in the Photos app. Tap Edit. Tap the Depth Control button at the top. Adjust the blur intensity. More or less.
You can also change the lighting effect after the fact. Same menu. Different button.
This is where the magic happens. You can refine the photo to look exactly how you want.
Common Problems and Fixes
The Blur Looks Fake
This happens when the phone cannot figure out the depth correctly. Usually because of a complex background. Or low light.
Try a simpler background. More light. Move closer.
The Subject Is Blurry
Portrait Mode works best with still subjects. Moving people confuse the camera. Ask your subject to hold still.
Also check your distance. Too close or too far can cause issues.
The Feature Does Not Work at All
Make sure you are using the right camera. Portrait Mode works with the wide and telephoto lenses. Not the ultra-wide.
Also check if your phone supports it. If you have an old iPhone, it might not.
Portrait Mode for Pets and Objects
Portrait Mode is not just for people.
It works on dogs. Cats. Flowers. Food. Even objects.
The phone detects the subject automatically. The yellow box appears. The blur works.
I have taken stunning photos of my dog. Of flowers in my garden. Of a cup of coffee on a table. The effect makes everything look more interesting.
A Warning About Pets
Furry subjects can be tricky. The phone's depth map sometimes struggles with fur. The edges might look fuzzy.
More light helps. A simple background helps. A still pet helps.
Who Should Use Portrait Mode?
Best for:
-
Anyone who wants professional-looking photos
-
People who post on social media
-
Parents taking photos of their kids
-
Pet owners
-
Food photographers
-
Anyone with an iPhone
Not for:
-
Photos of fast-moving subjects
-
Extreme low-light situations
-
Group photos (it only works on one subject)
The Final Thoughts
Portrait Mode is one of the best features on the iPhone. It turns ordinary photos into something special. I use it all the time. For family photos. For my dog. For random objects that catch my eye.
The results are always better than the standard camera. The blur adds depth. It adds interest. It makes the photo look like it was taken by someone who knows what they are doing.
Try it today. Open your camera. Swipe to Portrait. Point. Shoot. You will be surprised at what your phone can do.
This article provides comprehensive insights about iPhone Portrait Mode: How to Take Stunning Photos Like a Pro?. Bookmark this page for future reference!