Recording high-quality video on a phone is presently less demanding than ever. The iPhone 17 Pro can capture stunning footage in ProRes Raw format. ProRes Raw gives you the most adaptable, high-quality video for editing.
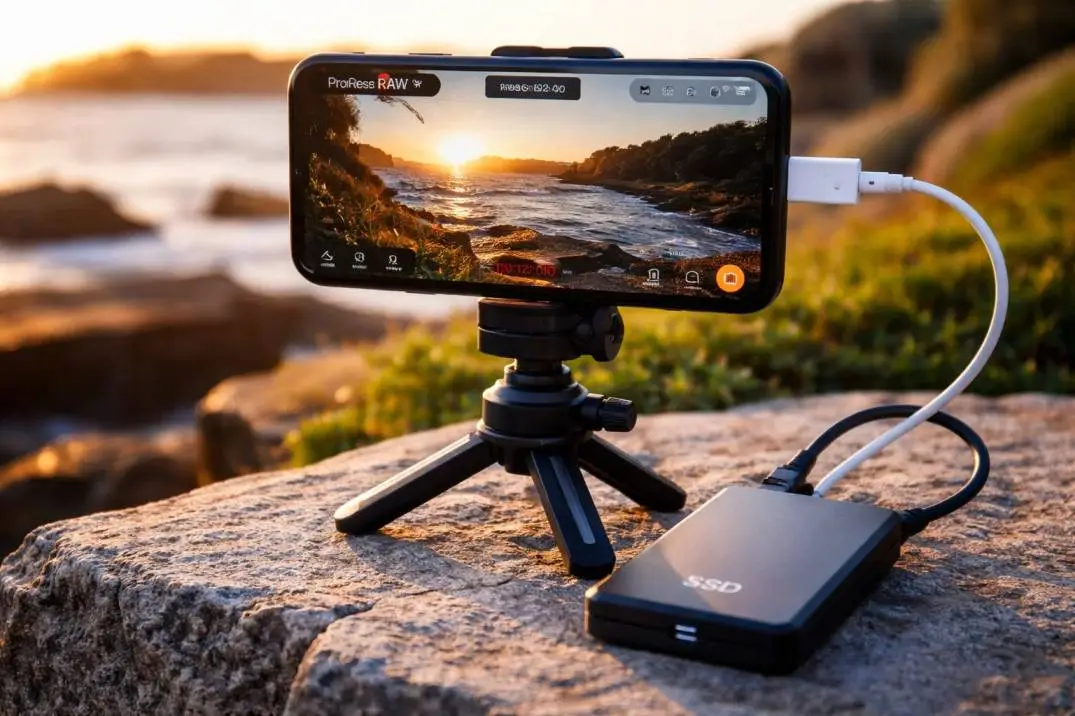
When you combine this with an external SSD, you can record long takes without running out of space. In this guide, we clarify how to record ProRes Raw on iPhone 17 with an external SSD in simple words. We cover setup, capacity alternatives, recording tips, and altering workflow.
This incorporates utilizing ProRes Raw with DaVinci Resolve. We moreover clarify what to see for in iPhone 17 Pro external storage and prescribe the best SSD for iPhone 17 Pro.
What Is ProRes RAW?
ProRes Raw is a video format created by Apple and Apple ProRes engineers. It captures raw sensor data from the camera. It keeps more detail and color data than regular video files. This makes it perfect for professional editing.
Read Also: Does Canon PowerShot SX740 Have Flash?
ProRes Raw files are large. That is why you need more capacity. Recording to an external SSD provides significant benefits. It anticipates filling your phone quickly.
Why Use an External SSD with iPhone 17 Pro
The iPhone 17 Pro external storage option is effective. It lets you record long clips without stressing almost space. Inside, phone capacity can fill up quick when working with ProRes Raw footage. By including SSD storage, you grow capacity.
Also, SSDs are speedier than most inside phone capacity. Quicker typing speeds allow smoother recording. This is supportive for high-frame-rate videos.
Choosing the Best SSD for iPhone 17 Pro
Before you begin, select the best SSD for iPhone 17 Pro. An perfect SSD should have:
- Fast compose speeds (500 MB/s or higher)
- USB-C support
- Rugged build
- Enough capacity for huge clips.
Here are a few beat choices frequently prescribed for iPhone Master video workflows:
- Samsung T7/T7 Shield – quick, solid, and shock resistant
- SanDisk Extraordinary Convenient SSD – tough, water resistant
- G-Technology G-Drive Mobile SSD – proficient construction quality
All are awesome alternatives for iPhone 17 Pro external storage. They offer help guarantee smooth recording and quick transfers.
What You Need Before You Start Recording?
Here is a straightforward checklist:
iPhone 17 Pro
Lightning or USB-C to USB-C cable (depending on your SSD)
External SSD (Best SSD for iPhone 17 Pro)
A great video app for ProRes RAW output (like Filmic Pro) Most recent iOS installed
Once you have these, you can begin.
Step-By-Step: How to Record ProRes RAW on iPhone 17 with External SSD?
1. Interface Your SSD to iPhone 17 Pro
Use a USB-C cable. Most SSDs have USB-C ports. If yours does not, use a appropriate adapter.
Once associated, your phone should recognize the SSD. You may see a notice saying, “USB Device Connected.”
This makes the iPhone 17 Pro external storage ready for video recording.
2. Check SSD Format
Your SSD must be in a congruous arrangement, like exFAT or APFS. If you arrange your SSD incorrectly, the phone may show a message inquiring you to reformat it.
Warning: Formatting erases data. Back up before reformatting.
You Must Also Like: How Much Do Professional Photographers Get Paid?
Most SSDs optimized for video and photo use will work out of the box.
3. Open Video App That Supports ProRes RAW
The built-in camera app underpins ProRes. Yet, a few outside recording workflows may not run easily. You may need an advanced video app, such as Filmic Pro. This app underpins ProRes Raw and external storage.
Launch your app and go to the video settings.
4. Enable ProRes RAW Recording
In settings, select:
Video Format → ProRes RAW
This plans for your iPhone to record crude sensor data. ProRes Raw files are huge, but they offer the most altering adaptability later.
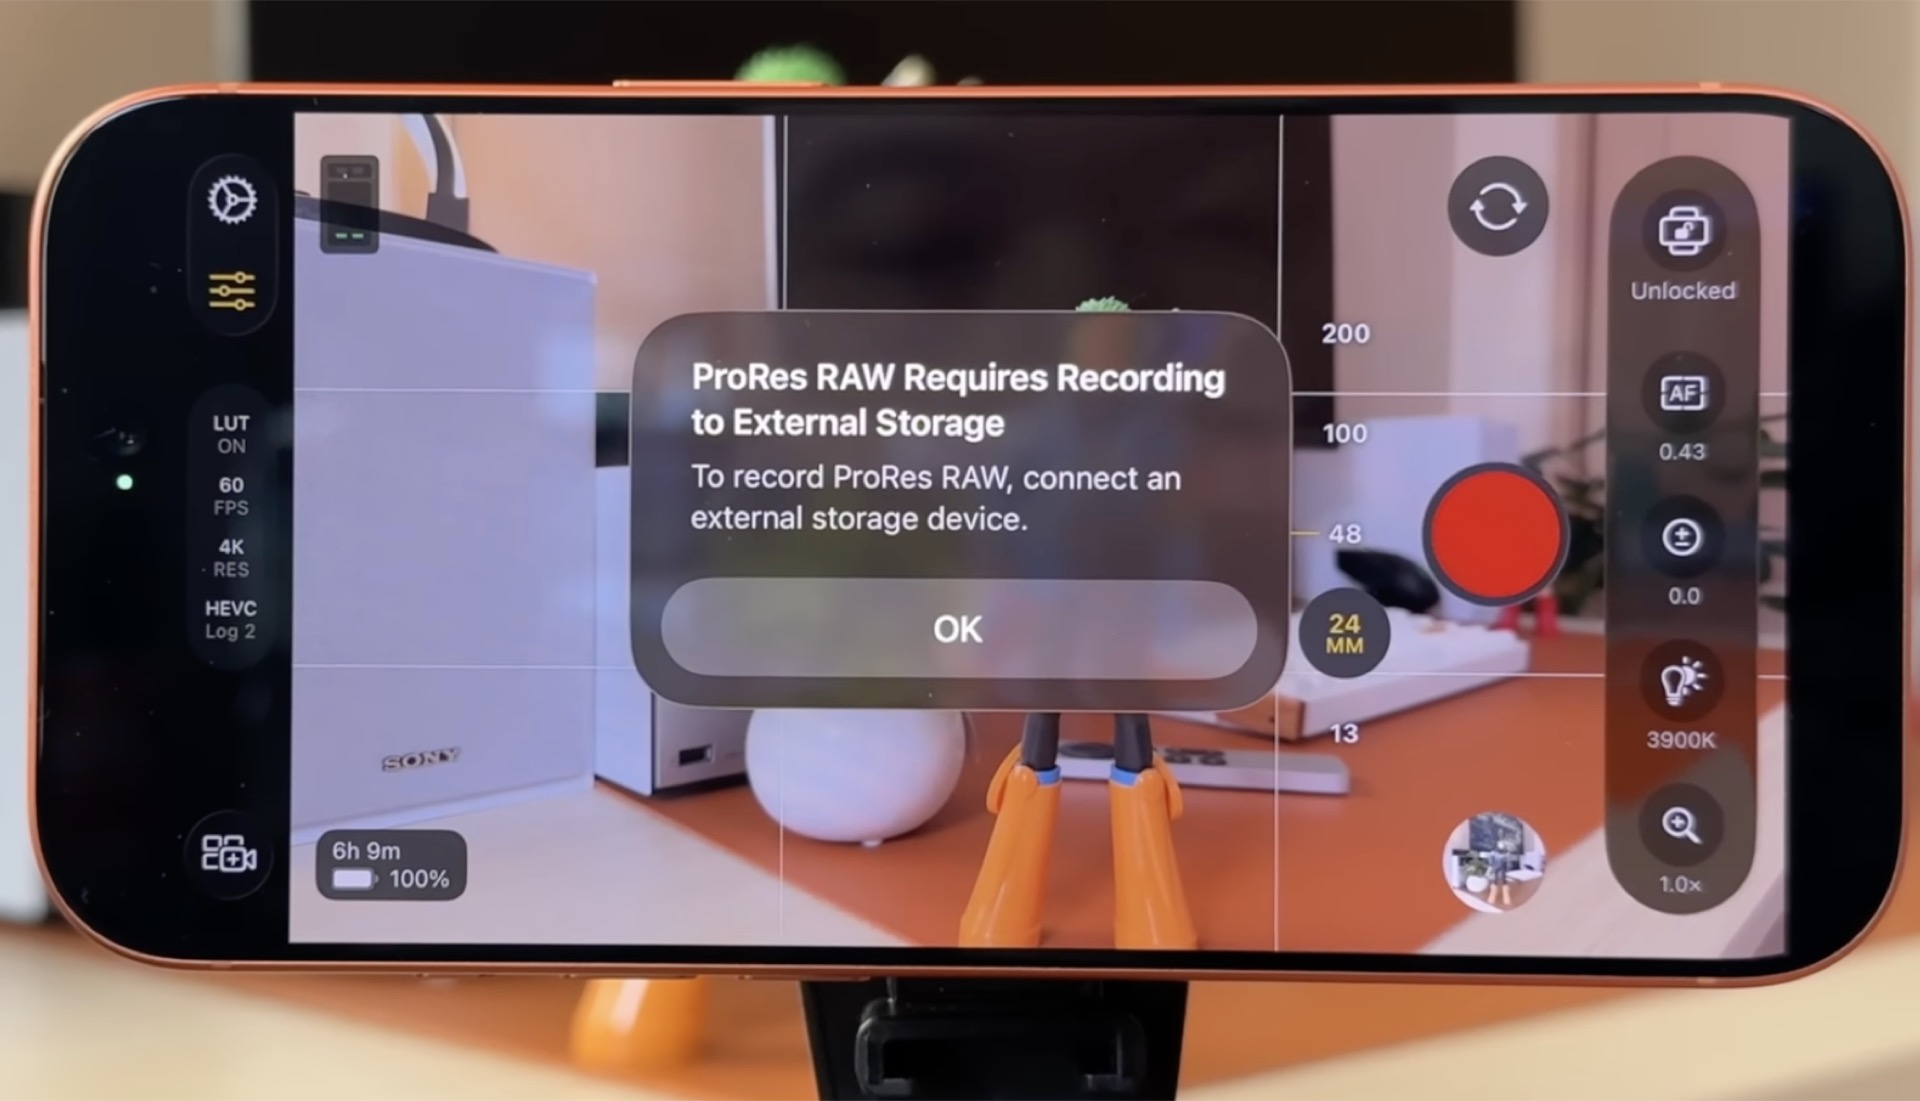
5. Set Storage to External SSD
In the video app settings, select the recording goal. If accessible, select your iPhone 17 Pro external storage (the SSD).
Your phone will presently save ProRes Raw clips specifically to the SSD. This avoids filling the internal storage.
6. Adjust Frame Rates and Resolution
Choose your favored resolution and outline rate. Common choices include:
- 4K at 24 fps
- 4K at 30 fps
- 4K at 60 fps
Higher outline rates and resolutions create greater records. That is why the best SSD for the iPhone 17 Pro matters. Faster SSDs help guarantee smooth recording, particularly at high outline rates.
7. Begin Recording
Once all settings are prepared, press record. The system will save your film to the SSD without any intermediate steps.
You can track capacity in the video app. Recording to external storage makes long takes possible.
Editing Your ProRes RAW Footage
Now that you have your records, you will likely alter them. Many editors use ProRes RAW in DaVinci Resolve on desktop computers.
DaVinci Resolve is a effective altering app. It gives local back for ProRes Raw files. That implies you can alter color, introduction, and highlights with tall precision.
How to Use ProRes RAW Files in DaVinci Resolve?
Here’s how:
Transfer Records. Interface your SSD to your computer. Duplicate the ProRes RAW clips from the SSD.
Open DaVinci Resolve. Make an unused project.
Import film. Drag and drop the ProRes RAW files into your media pool.
Edit and Color Grade ProRes Raw lets you alter exposure and color with negligible quality misfortune. This gives you more control than standard video formats.
Export the last video. Select your desired format and export it.
Shooters adore ProRes RAW with DaVinci Resolve and iPhone Pro workflows. This workflow highlights the reasons why.
Tips for Better Recording with SSD
Here are a few straightforward tips:
- Always check SSD space before recording.
- Use high-quality cables.
- Keep your iPhone and SSD cool.
- Avoid unplugging during the recording.
- Label your clips by date or scene.
These tips make working with the iPhone 17 Pro external storage simpler. They also help avoid misplaced files.
Troubleshooting Common Problems
SSD Not Detected
- Try a diverse cable.
- Check arrange (exFAT or APFS)
- Reconnect both ends.
- Recording Stops Midway
- Check accessible SSD space.
Ensure the recording goal is set to the adjust option.
Avoid exchanging apps while recording.
- App Does Not Support ProRes RAW
- Update the app to the latest version.
- Use a congruous app like Filmic Pro.
These straightforward checks help settle most issues.
Why You Should Record ProRes RAW?
ProRes Raw saves raw sensor information from your iPhone’s camera. This gives more control for altering later. You can adjust:
- Exposure
- Color temperature
- Highlights/shadows
- Noise reduction
ProRes RAW files are much more adaptable than standard video files.
That is why many experts lean toward it.
Comparing Internal Storage vs External SSD
Internal Storage:
Faster for little clips.
You do not need any cables.
Limited space
External SSD:
Much more storage
Supports long takes.
Better for tall frame rates.
For genuine video work, iPhone 17 Pro external storage is a smart choice.
Best SSD for iPhone 17 Pro: Reviews
Here are the best picks again:
1. Samsung T7/T7 Shield
Very fast
Compact
Great for ProRes RAW
2. SanDisk Extreme Portable SSD
Strong build
Water resistant
Good price/value.
3. G-Technology G-Drive Mobile SSD
Professional quality
High performance
Great for overwhelming workflows.
All are great choices when you need the best SSD for iPhone 17 Pro.
Final Thoughts
Recording ProRes Raw on iPhone 17 with an external SSD opens a new level of imagination. You can shoot cinema-quality video with your phone. The key is choosing great devices and knowing the steps.
Use iPhone 17 Pro external storage to expand capacity. Choose one of the best SSDs for iPhone 17 Pro for quick, solid execution. And when you alter, use ProRes Raw DaVinci Resolve to open full color and introduction control.
This workflow is capable. It is simple to learn. And it leads to proficient results. Whether you are a maker, filmmaker, or specialist, these tips will help you get the most out of your iPhone 17 Pro. If you need, I can too make a fast video checklist or a printable setup direct for this workflow. Tell me!
This article provides comprehensive insights about How to Record ProRes RAW on iPhone 17 with External SSD?. Bookmark this page for future reference!